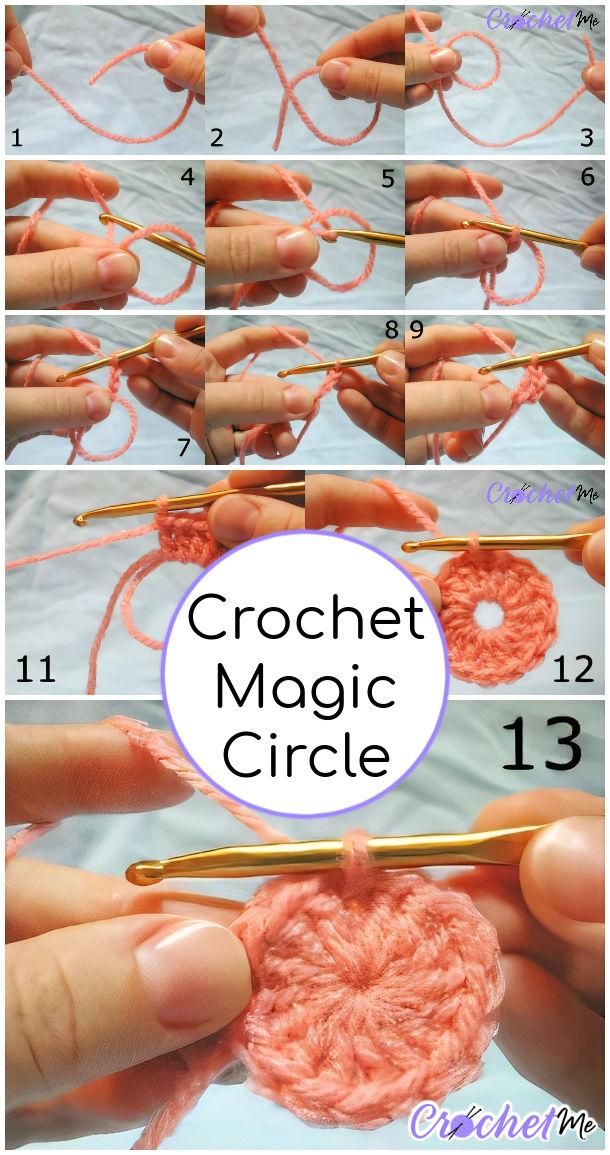
Let’s see what a magic circle or magic ring really is? A crochet magic circle or a magic ring is a simple way to start crochet in the round. You just start crocheting in an adjustable loop by finishing the first round stitches you are required for the pattern. Once you are done, just pull the loop tight. And ta-dah, no more annoying hole left in the center of your first round. Isn’t that just great? The most difficult part of all my crocheting efforts is the one which starts crocheting with a round at its center! Especially in the case of amigurumi or toys, because they need quite an uptight center. But then I came across this crochet magic circle technique. It can be of great help to you too!
Any pattern that has to be crocheted top-down like crochet rug patterns, a crochet amigurumi, hats, shawls, or any amigurumi can be crocheted flawlessly with this crochet magic circle technique. A crochet magic circle technique is also known as a crochet magic ring or adjustable loop. I have always had so much trouble joining my chain stitches together at the center. No matter how careful I was, every time I ended up with a hole in the middle. Now that I have this crochet magic ring technique with me, I have no trouble with a loose center.
This crochet magic circle tutorial assumes you know how to chain, slip stitch, and double crochet. For demonstration purposes, each of these three beginning rounds has 15 DCS worked into the center, plus the first ch-3 (which counts as the first dc) equals 16 dc.
US pattern notations used. If you are a left-handed crocheter, flip the starting loop formation, then use left-handed moves working clockwise for the rest of the tutorial.
Crochet Magic Ring or Adjustable Loop
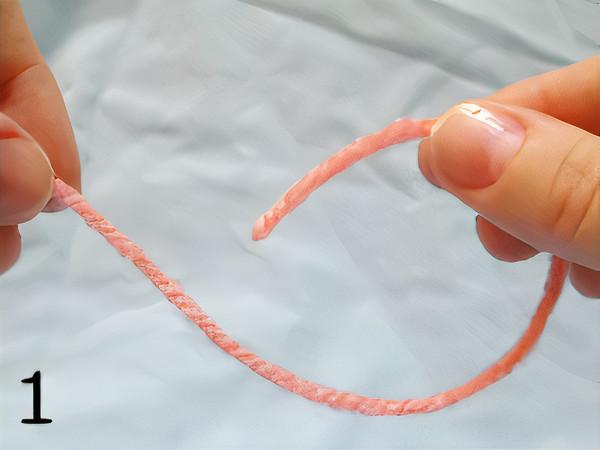
Make a large loop by putting the yarn tail behind the working yarn (the yarn coming from the skein) (Figures 1-2).

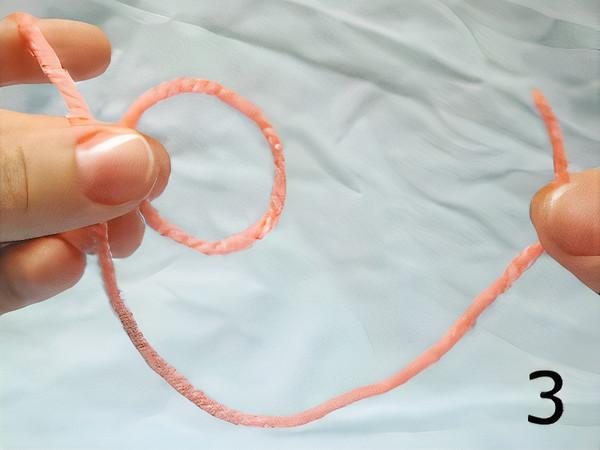
Leaving at least a six-inch tail until you become familiar with this method (Figure 3). Later, you may leave a shorter tail if desired.
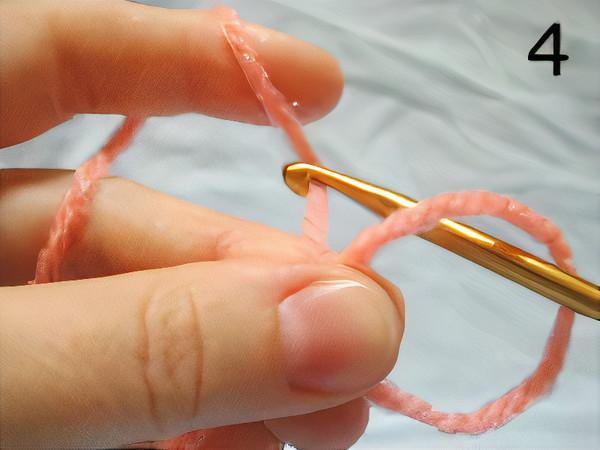
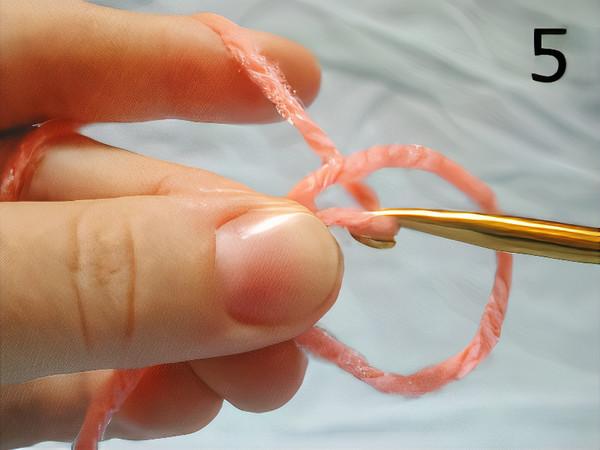
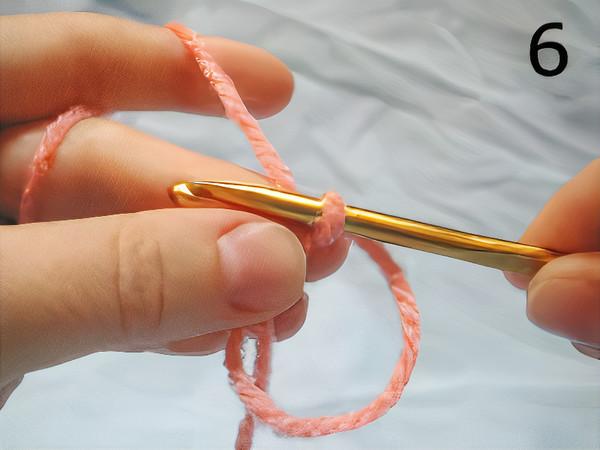
With your hook, draw the working yarn through the loop, so you have one loop on the hook (Figures 4-6).
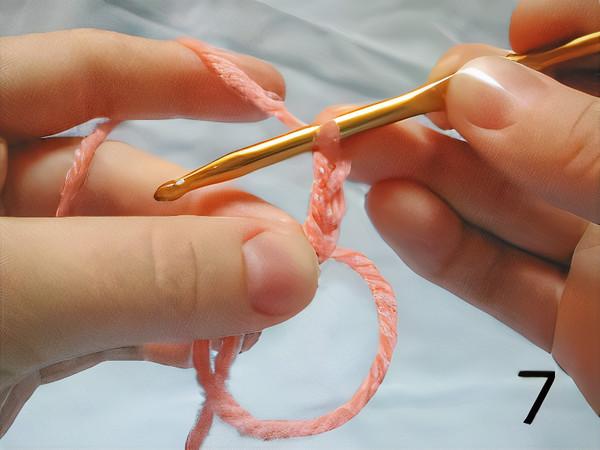
Ch 3 (counts as first dc) (Figure 7).
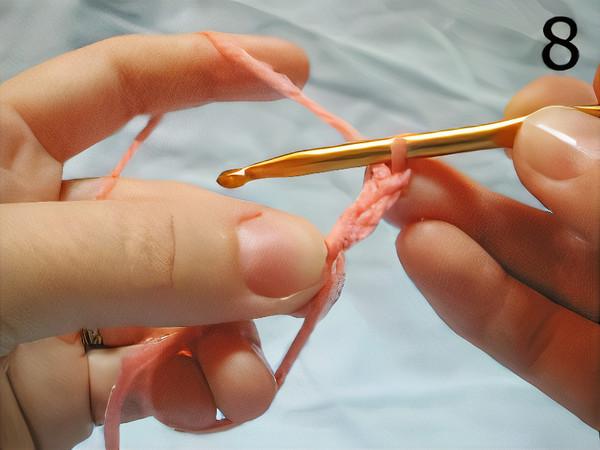
How you hold the loop while you work the stitches into it is personal preference, but I find it convenient to put both my pinky and ring finger inside the loop to hold it tight (Figure 8.)
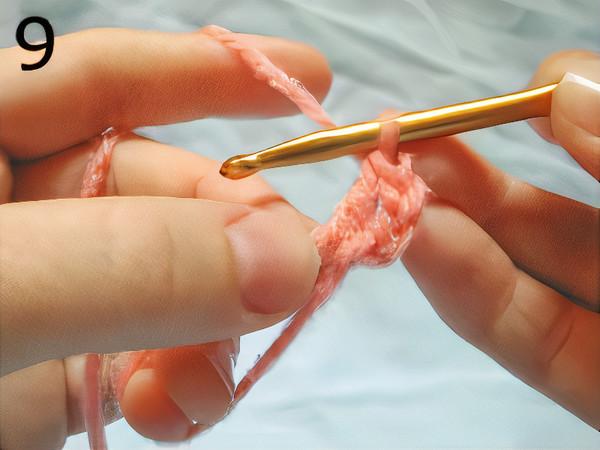
Dc into the loop, crocheting over the tail (Figure 9).
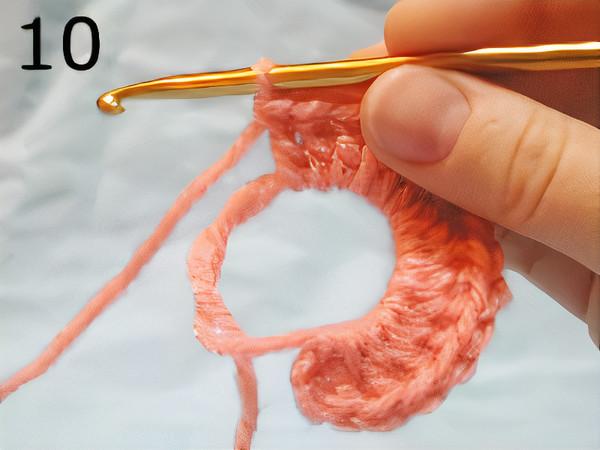
Continue to work as many dcs as needed for you pattern into the loop. (Don’t forget to keep crocheting over the tail.) When you are finished working stitches into the loop, you will likely find that the tail has curled around the loop a few times (Figure 10).
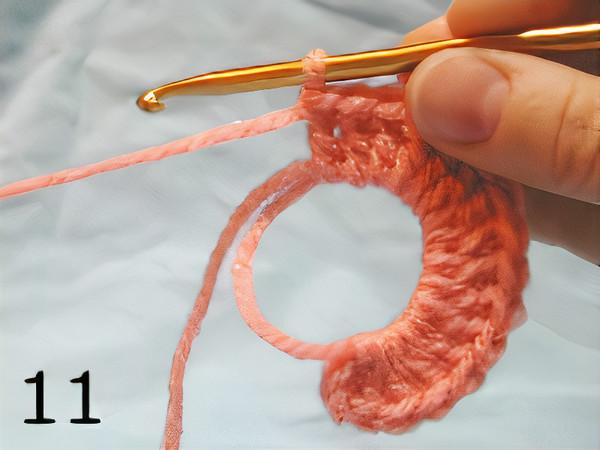
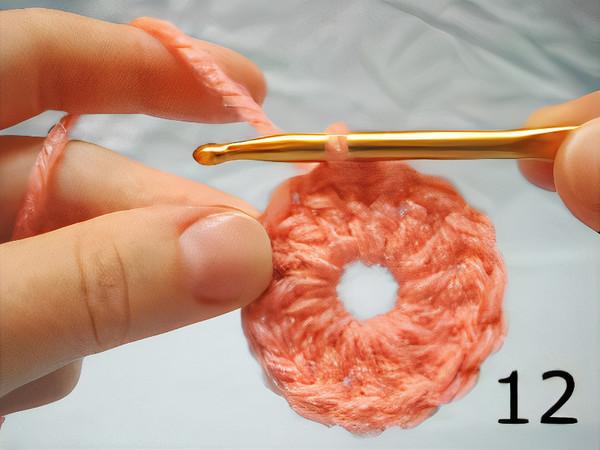
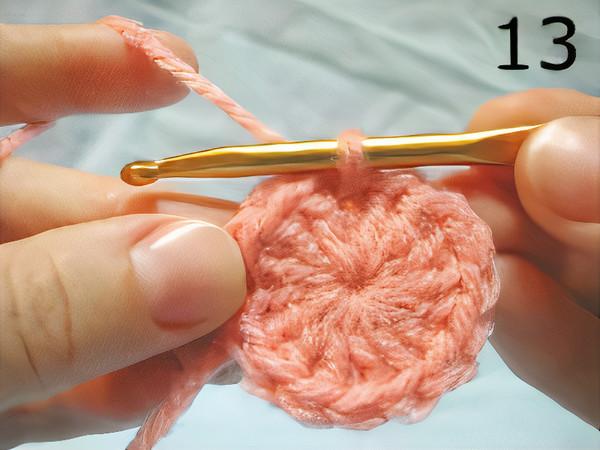
To make it easier to draw the loop closed, first untwist the tail (Figure 11); then pull the tail to draw the loop closed. You can leave an open hole in the center (Figure 12) or draw it closed very tightly (Figure 13).
Joining a Chain to Form a Ring
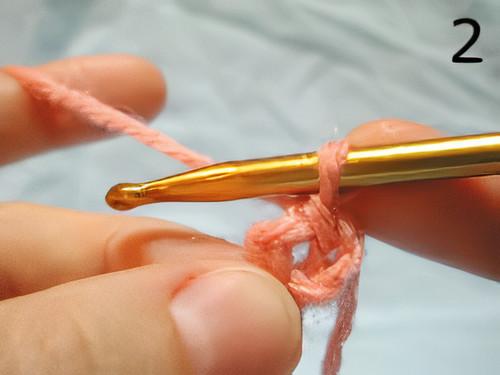
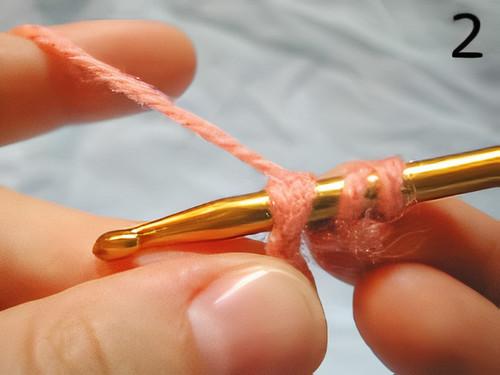
Ch 4 (Figure 1). Join to fourth ch from hook (the first ch made) with a sl st to form a ring (Figure 2).
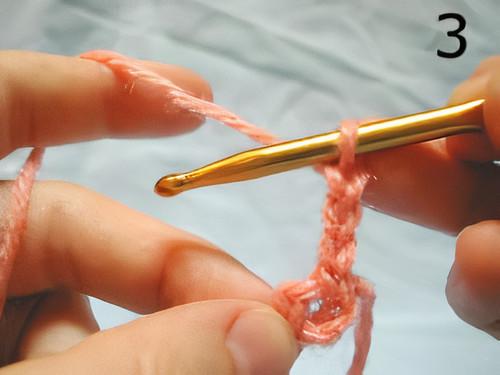
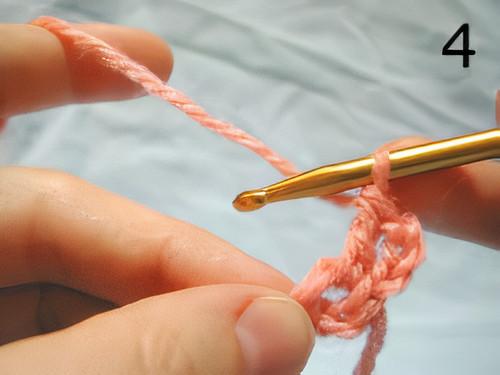
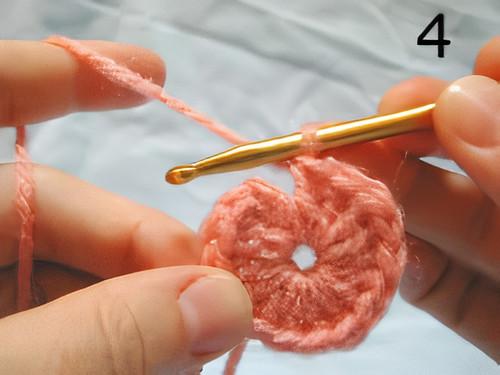
Ch 3 (counts as first dc) (Figure 3). Dc into ring (Figure 4).
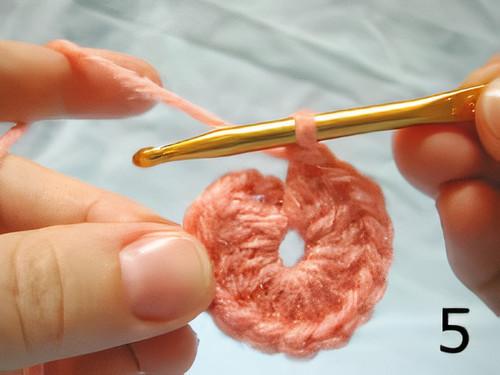
Continue to work as many dcs as needed for your pattern into the ring (Figure 5).
Join with a sl st into the third ch of the ch-3.

Crocheting into the First Chain
Ch 4 (chs 2-4 count as first dc) (Figure 1).
Dc into the fourth ch from hook (the first ch made) (Figures 2-3).
Continue to work as many dcs as needed for your pattern into the same ch (Figure 4).
Join with a sl st into the fourth ch of the ch-4.


Finishing of Crochet Magic Circle
So, what do you think about this exciting crochet magic ring idea? I absolutely love it. I am never going back to the old ways again. Oh, and before I go, let me leave you with another pro tip (that I pretty much forgot the first time over the rush of my excitement). Just remember that as this technique allows you to tighten the center of your pattern, so there is also an (unfortunate) chance for it to loosen over time. However, that’s totally avoidable if you carefully secure the ends of the yarn to make sure your final pattern looks just the same – glued together kind of! You will thank me later.