Adding some warm crochet mittens to your wardrobe this winter sounds like a good idea. It will not only give you cozy mittens to wear but will also provide you with a new hobby for those lazy winter evenings. Crochet mittens are best for controlling the cold weather from affecting your body. So, while you cover yourself, make it look more stylish and slay any outfit. Learn how to crochet mittens quickly! Get these 20 unique and free crochet mitten patterns with step by step instructions and PDF to download. Crochet some stylish mittens for yourself and for the family and your loved ones around. Instead of spending your time and money finding the free crochet mitten patterns of your liking, why not help yourself? You can gift these amazing crochet mittens as a winter or holiday gift.
Make a mug of hot chocolate, put on your favorite show, grab your yarn skeins, and enjoy the snowfall outside by making these easy crochet mittens for yourself and for all your loved ones. It will polish your crocheting skills, leveling you up from a beginner to intermediate crocheter. All you need is a place where you can compare and choose the crochet mitten pattern of your choice so that you can start working on it. Here’s good news! We are providing you with one! These crochet mitten patterns are easy to whip up in a day, even if you are a beginner level crocheter. So, let’s get to work. Or should we say… let’s relax!
1. Hello Gnome Crochet Mittens
Crochet these gnomes inspired beautiful mittens for your child, or even for yourself and bring the garden adventure inside, with all these colors. These gnome mittens can be spruced up in no time, with basic crocheting techniques and some beginner skills. All you need to do is to go to the link to learn how to crochet this simple mitten pattern. mooglyblog
- Yarn: Lion Brand Lion’s Pride Wool spun
- Gauge: 14 rows with 12 sts = 4” in sc
- Hook: K / 6.5 MM hook
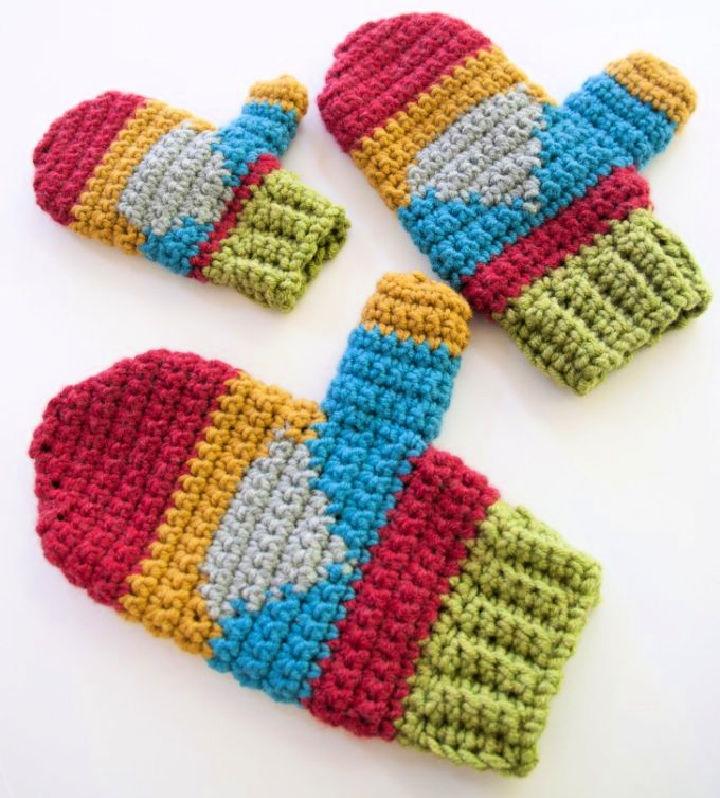
2. Color Pop Mittens Crochet Pattern
Sprucing up these color pop mittens crochet patterns is going to be so fun. It will not only add color to your boring mittens but will also brighten up your day. The bright pop of the color in the top part of the mittens really adds to its look. This crochet mitten pattern is as easy as it only requires the beginner skills for crocheting. Go to the link for more details. idealme
- Yarn: Cascade 220 Super Wash Merino Worsted Weight Yarn
- Hook: G/6/4mm
- Gauge: 4.”
- Other Supplies: Scissors, Tapestry Needle
3. Crochet Friday Mittens Pattern
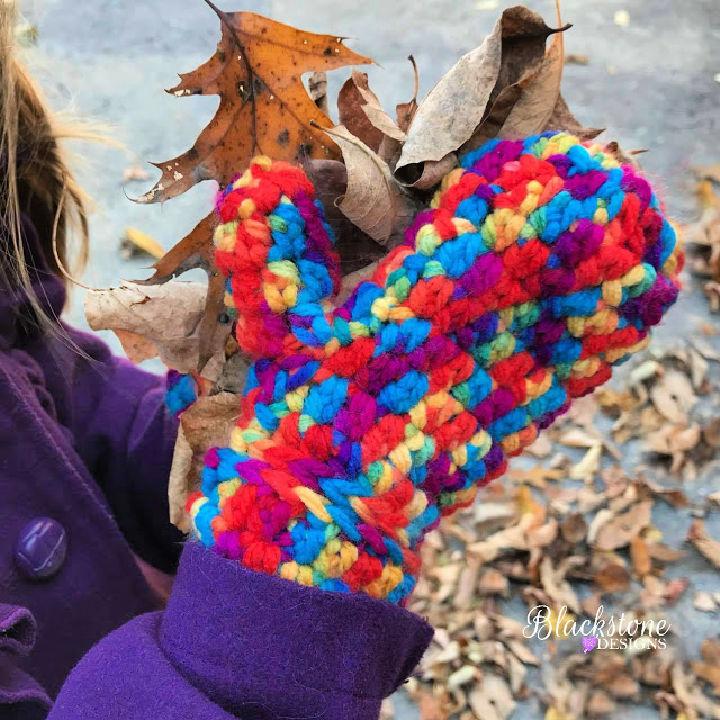
As colorful as these mittens are, these crochet mitten patterns are easy to whip up in one evening. They are not only quick to whip but are also warm and cozy to wear. As well as very attractive because of all the bright colored yarn that is used to create them. All you need is to follow the chain, single stitch, and slip stitch around the pattern to crochet these beauties. blackstone designs
- Yarn: Bulky Weight Yarn
- Needle: Yarn Needle
- Hook: J/6mm/10
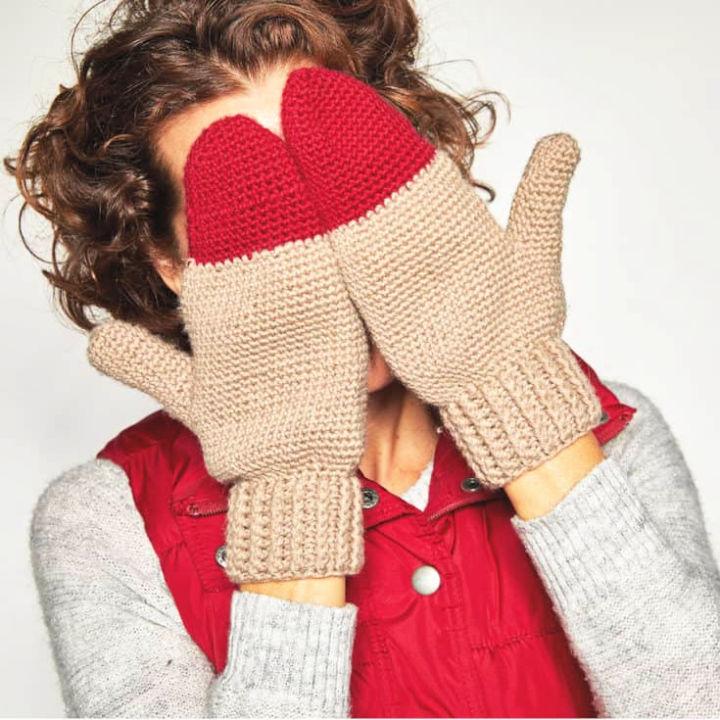
4. Crochet Morning Mittens Pattern
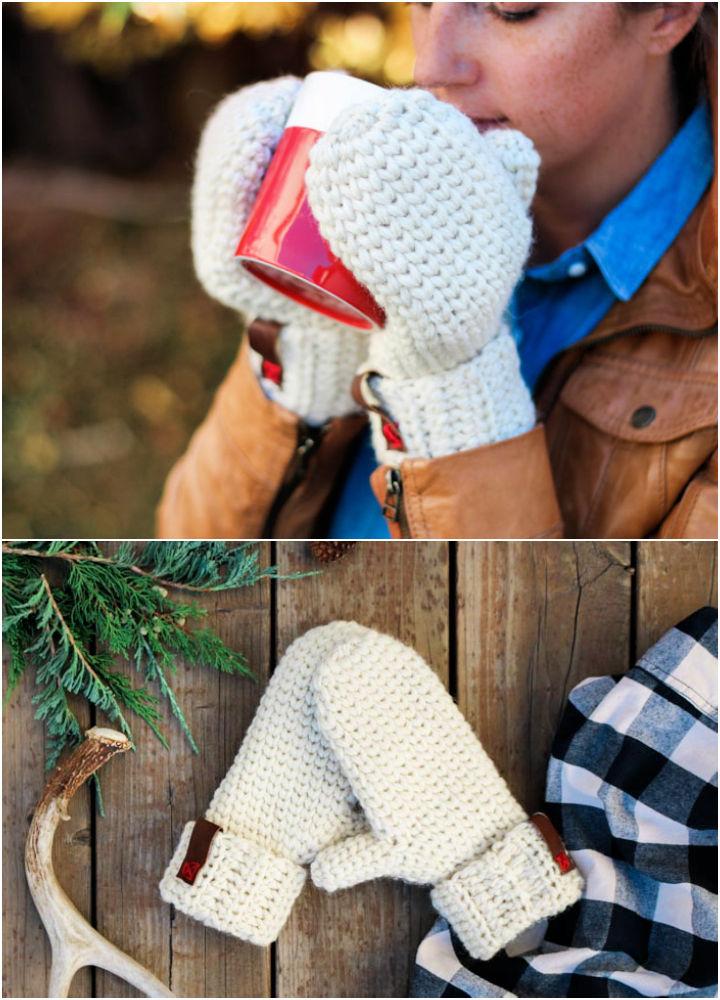
Looking for some decent mittens that also have a formal and chic look to them? How about trying to crochet these decent and plain-looking white morning mitten patterns. Their look is very cozy and classy. You can also use yarn of your own likings or simply dye them later when you are done with one color. This yarn can easily be dyed using food color. makeanddocrew
- Yarn: Lion Brand Fishermen’s Wool
- Needle: Tapestry Needle
- Hook: K/L/N – 6.5mm/8mm/10mm (according to the size)
5. Bernat Blanket Crochet Mittens

Want to add some Christmas vibes to your mitten pair? Crochet these beautiful cozy, bright-colored mittens for Christmas. You can even crochet a hat along with them and gift them as a Christmas present to someone near and dear. Or, you can keep it to yourself and flaunt your creation throughout December. Learn to crochet this easy peasy mitten pattern below. repeatcrafterme
- Yarn: Bernat Blanket Yarn
- Hook: K
- Needle: Tapestry Needle
6. Crochet Colorblock Mittens – Free Pattern
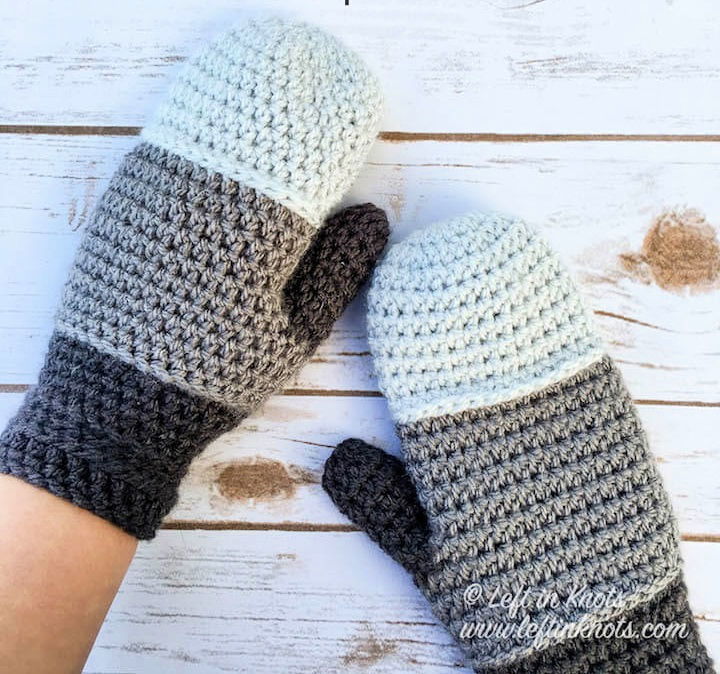
Spruce up this color-block crochet mitten pattern for your teen boy who wants to add a grunge feel to his mitten. Or, just crochet these for yourself, if you want something decent and classy to go with almost any dress in your wardrobe, to keep yourself warm. The stitches needed for these mittens are slip stitch, single and half double crochet. Feel free to hit the link for details. leftinknots
- Yarn: Paintbox Yarns Simply Aran
- Gauge: 2.”
- Needle: Yarn Needle
- Other materials: Scissors
7. Simple to Crochet Autumn Mittens
Looking for a much simpler look for this autumn? Here you go! These crochet mittens are perfect for you! Not everyone wants something out of the box. If you are looking around for basic looking crochet mitten, grab your supplies, and crochet this mitten pattern yourself! Give yourself a gift, and we’re sure you won’t regret your decision. ravelry
- Yarn: Garnstudio DROPS Alpaca, Ístex Kambgarn, Noro Silk Garden Sock
- Gauge: 10”
- Other supplies: Needle
8. Bernat Crochet Fox Mittens
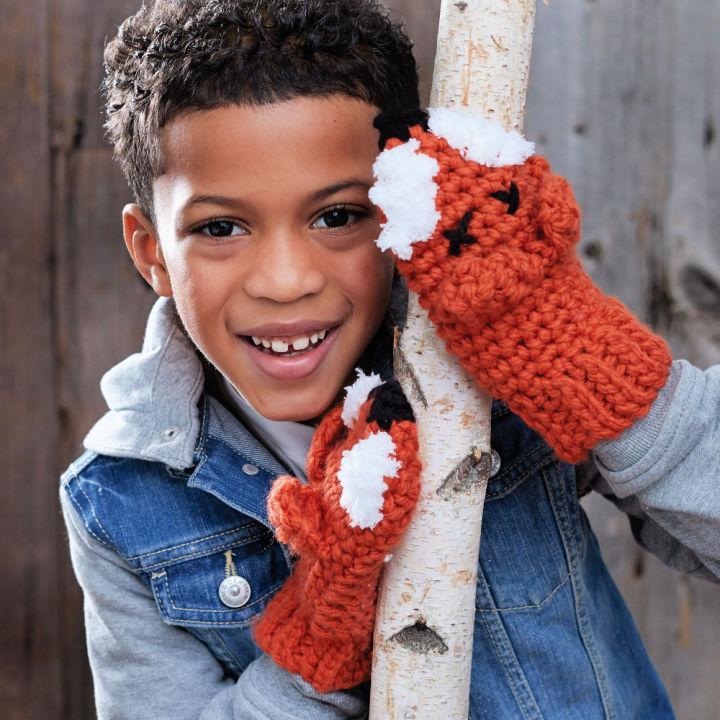
Add a fun look to your kid’s mitten by crocheting this fox mitten pattern for them. The color used to give the mittens the look of the fox has a very autumn effect to it as well. Crochet this cute fox mitten pattern by using a chain, slip, and single crochet stitches. The skill level required for these mittens is that of the beginner. yarnspirations
- Yarn: Bernat Softee Chunky
- Gauge: 4.”
9. Bernat Crochet Cowl & Fingerless Mitten Set
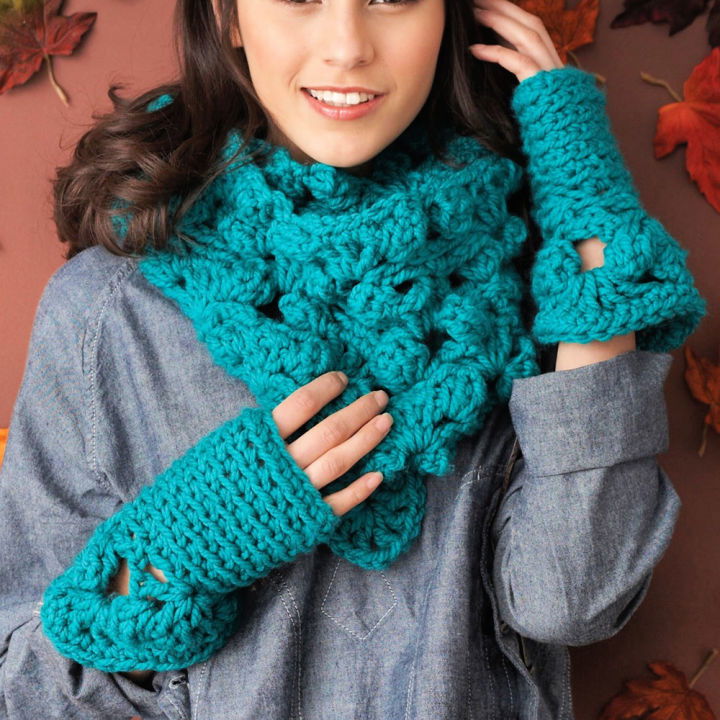
Want to stand out from the basic winter/ autumn look? Crochet these beautiful oversized fingerless mittens along with the cowl to go perfectly with your winter look. We’re sure it will be the look of the year! It might look complex, but the stitches are easy, and the mittens alone can be spruced up in less than a day. So let’s go! yarnspirations
- Yarn: Bernat Softee Chunky
- Gauge: 4.”
10. 3 Hour Chunky Crochet Mittens – Free Pattern
Try whipping up these chunky crochet mittens, and we’re sure you will love these beauties! The time required to spruce these up is only 3 hours, and the final look is so decent and cozy that you won’t give a second thought to making these your everyday mittens. All you need is to learn some basic techniques and look at this link to crochet these mittens. makeanddocrew
- Yarn: Lion Brand Wool
- Hook: L/P/Q
- Needle: Tapestry Needle
- Gauge: 2.”
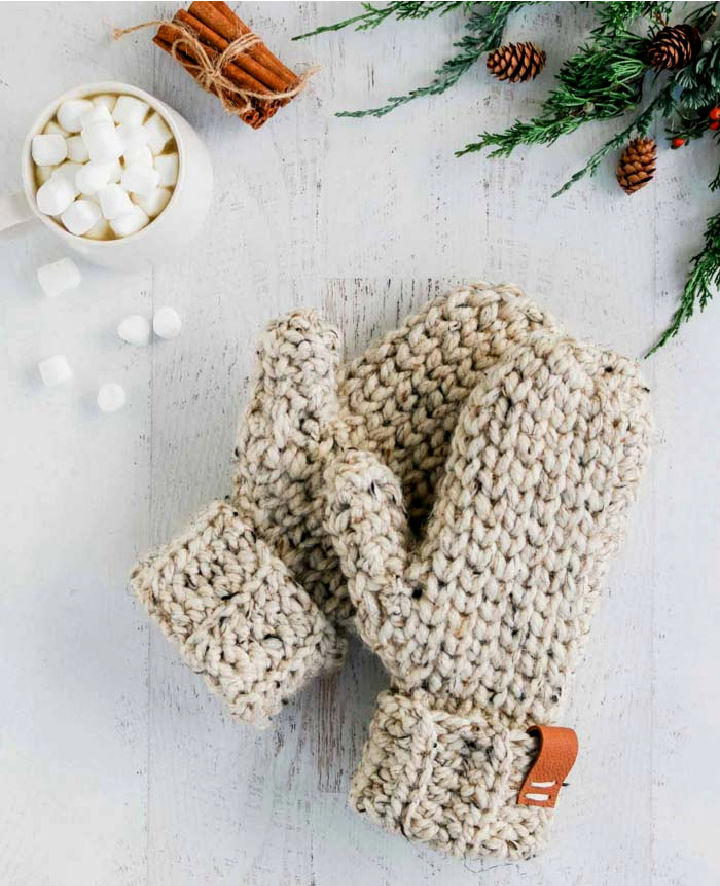
11. Crochet Hot Chocolate Mittens
Crochet these hot chocolate mittens this winter to add style to your winter outfit. The yarn used for these outfits is so soft and is of very beautiful color. You can spruce up these beauties in the color that matches your outfit or your winter cap and have a very stylish and adventurous winter this year. Hit on the link to learn the details. knittedbliss
- Yarn: Berroco Noble
- Needles: Cable needle, tapestry needle ( 5 mm and 6.5 mm)
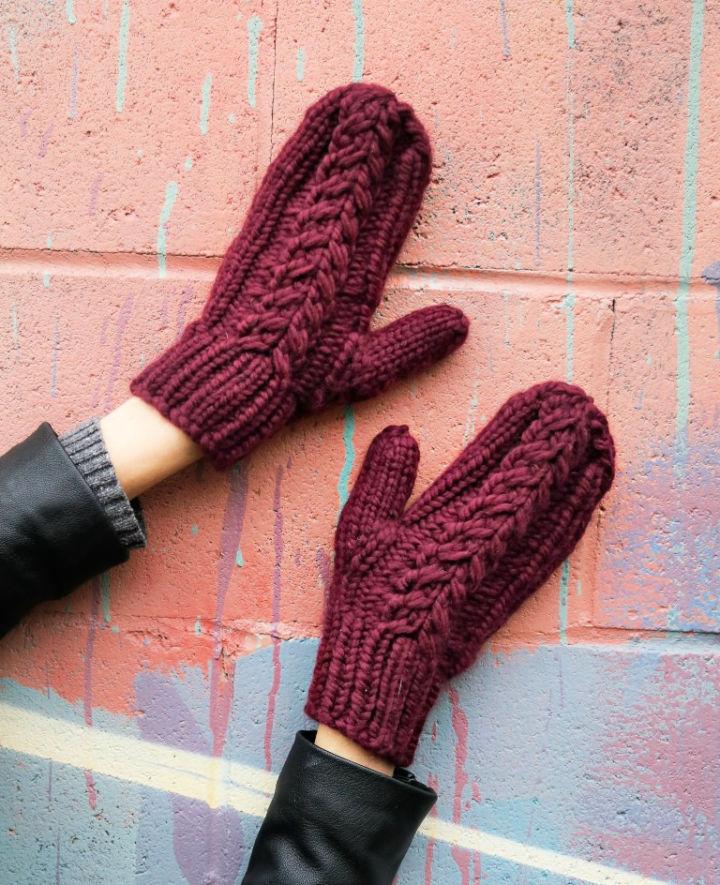
12. Noelle Knit Look Mittens – Free Crochet Pattern
If you are looking for a ‘knit look’ mittens, try these amazing Noelle’s ‘knit look’ crochet mitten pattern. These mittens are worked from top to bottom, leaving the thumb to be whipped up in the last. These are easy to make and cozier to wear mittens. Try whipping up this crochet mitten pattern by following the link. hookedontillylife
- Yarn: Yarn Bee’s WildStreak in Riverstone
- Needle: Yarn Needle
- Other Supplies: Scissors, Stitch Marker
13. How to Crochet Color Block Mittens
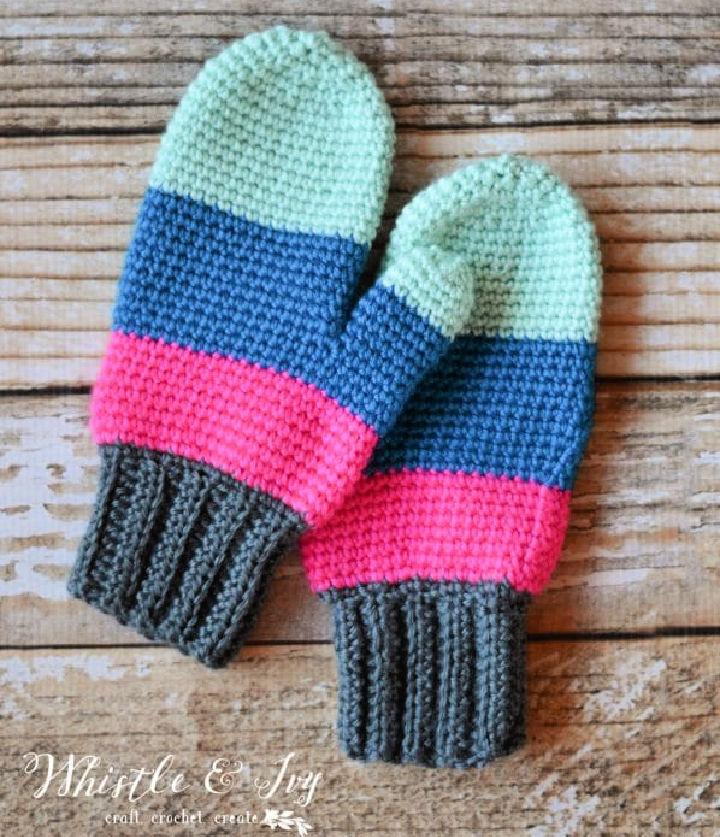
Want to add more colors to the kids’ mitten you are sprucing up? Try crocheting these color block mittens with the help of different colored mittens. Spruce it up by using the favorite colors of your kids. That way, the mittens will stay on all winter long, keeping your kid warm and safe from the cold. whistleandivy
- Yarn: Knit Picks Mighty Stitch
- Gauge: 3.”
- Hook: G
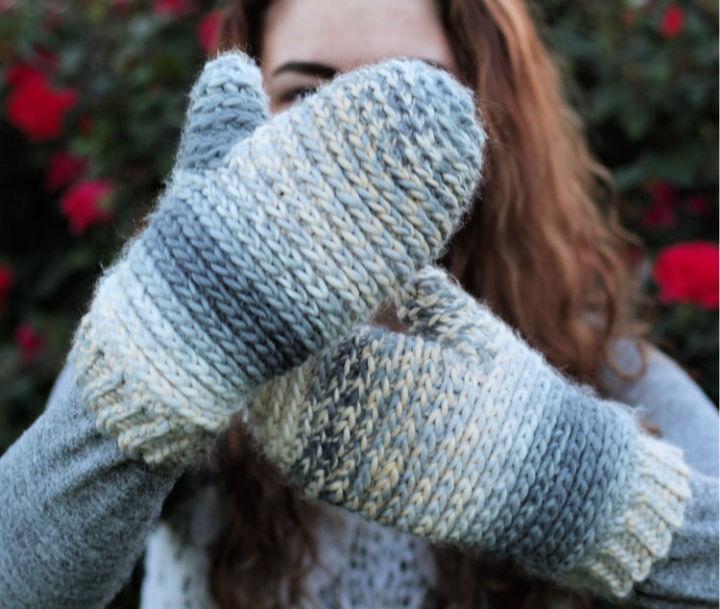
14. Norse Crochet Mittens Pattern
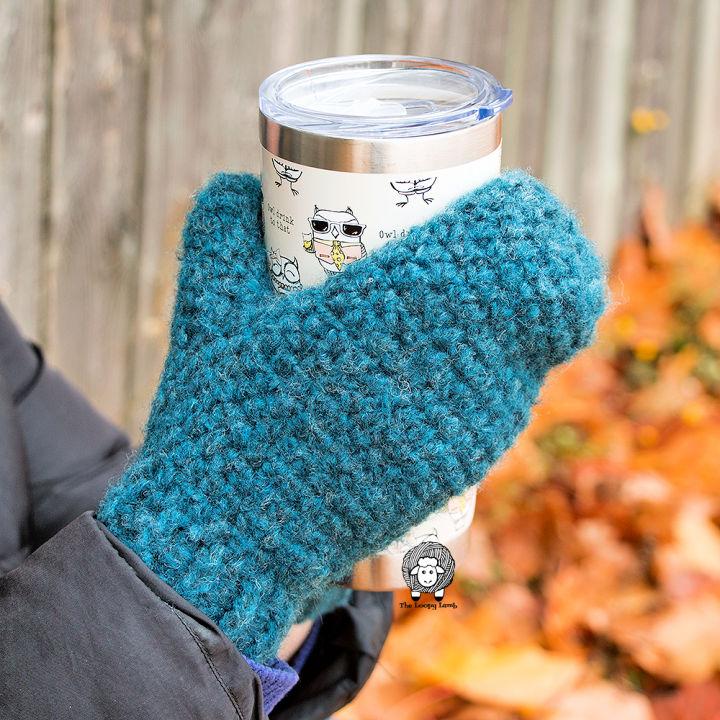
This Norse crochet mitten pattern is super cute and cozy. These mittens are crocheted from top-down, i.e., from fingertips, working down to the wrist. The pattern is easy as it is spruced up in continuous spirals, with the help of slip stitch, half double crochet, and a couple of other crochet stitches. Try crocheting these beauties with the help of the instructions given. theloopylamb
- Yarn: Patons Norse Yarn
- Needle: Tapestry Needle
- Hook: 6 mm
- Gauge: 2.”
- Other Supplies: Stitch Marker, Scissors
15. Crochet Bulky Mittens Pattern
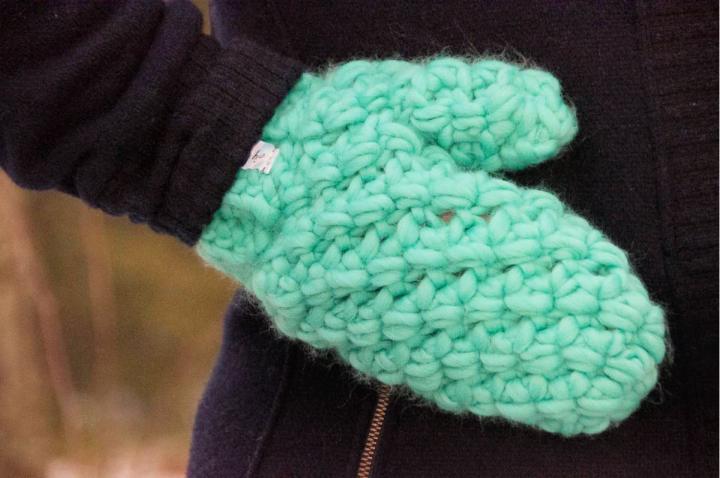
Are you a person who cannot stand cold hands at all? If yes, then crochet these bulky mitten patterns for yourself, and thank us later. The best part is that if you want to add a bit more color to it, you can spruce them up in more than one color. You can easily create this masterpiece in a couple of hours by following the instructions given. joyofmotion
- Yarn: We Are Knitters- The wool (100% wool)
- Hook: 12mm, O
- Other Supplies: Stitch marker, scissors, needle
16. Millbrook Chunky Crochet Mittens
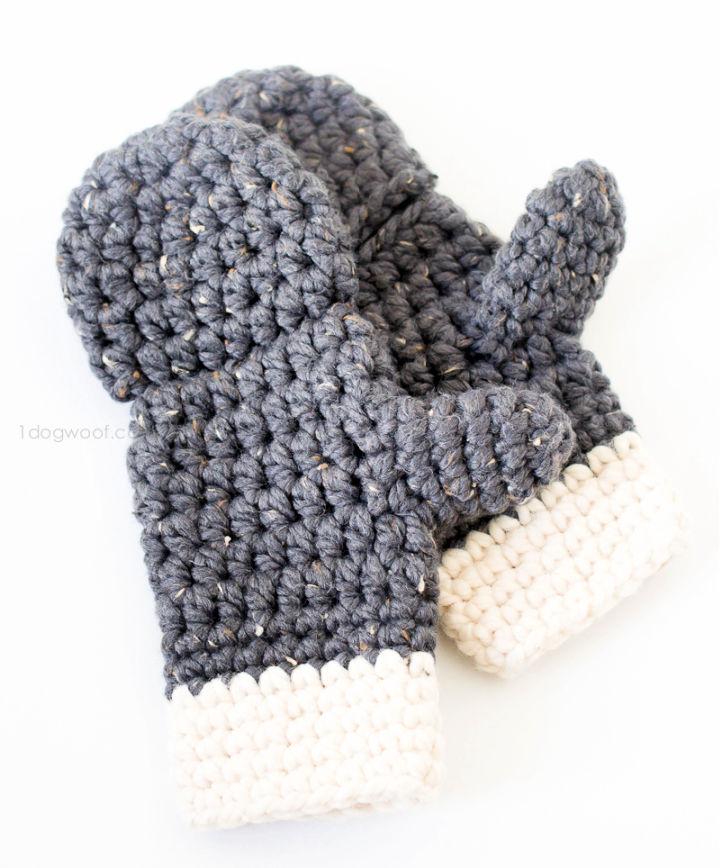
Aren’t these ones of the cutest mittens ever? These milk-brook chunky mittens are perfect for adding in your kid’s attire so as to increase the amount of cuteness. Spruce these cuties, in less than 2 hours, by using chain stitch, double crochet, and single crochet stitches. Follow the free crochet pattern given, and let’s get going. 1dogwoof
- Yarn: Lion Brand Wool-Ease Thick and Quick
- Hook: 6mm/J
- Other Supplies: Tapestry Needle, Scissors
17. Toddler Crochet Mittens for Beginners

Crochet these cute mittens for your toddler and bring a stylish effect to their clothing. You can customize the colors accordingly. If you are a beginner at crocheting, then this project is best for you to get skilled. Add a little more, and crochet a matching hat along with these easy mittens. Tap on the link for details. windingroadcrochet
- Yarn: Lion Brand Color Made Easy
- Needle: Yarn needle
- Hook: 6.5mm/K
- Scissors
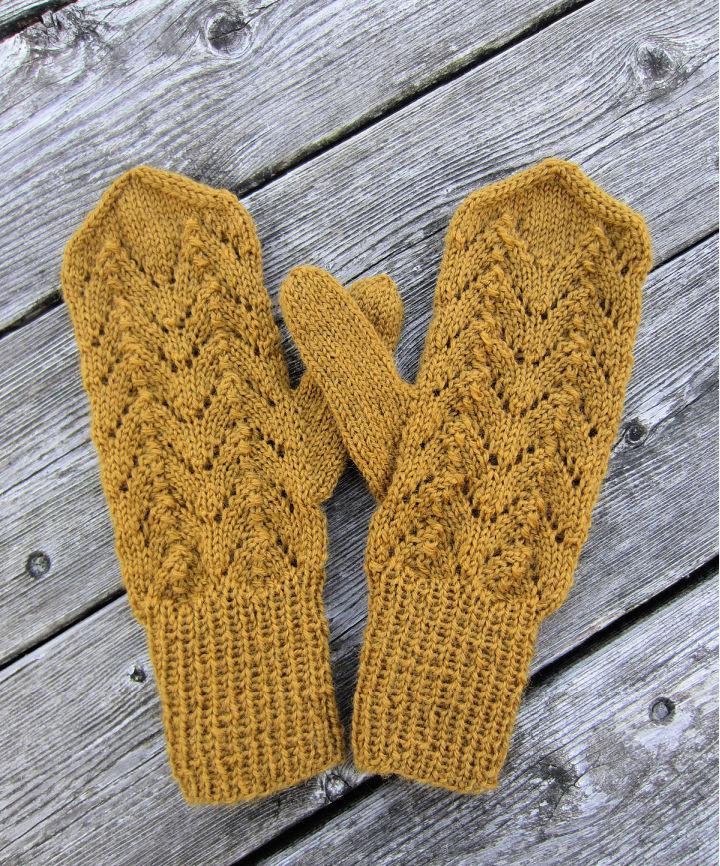
18. Crochet Arched Gusset Mittens
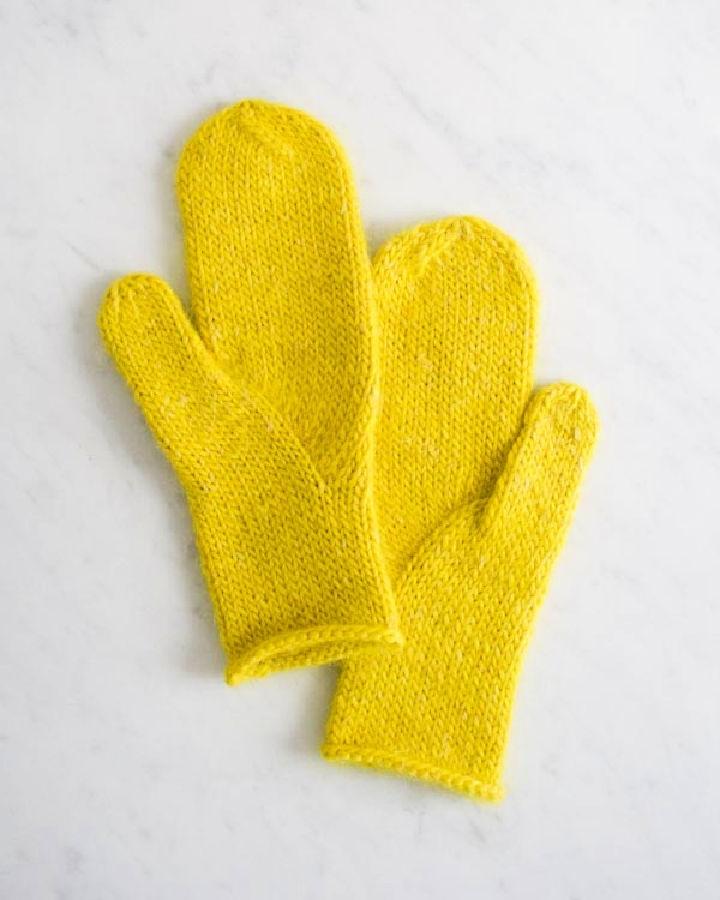
Bring your own sunshine to the frosty winters by crocheting these bright yellow colored mittens for yourself or for a loved one. These easy sideways crochet mittens pattern free are easy to crochet and require beginner to intermediate skills. Check free crochet pattern for more details about the yarn and stitches that are used to crochet these mittens. purlsoho
- Yarn: Purl Soho’s Flax Down
- Gauge: 4.”
19. Newfie Mittens Crochet Pattern
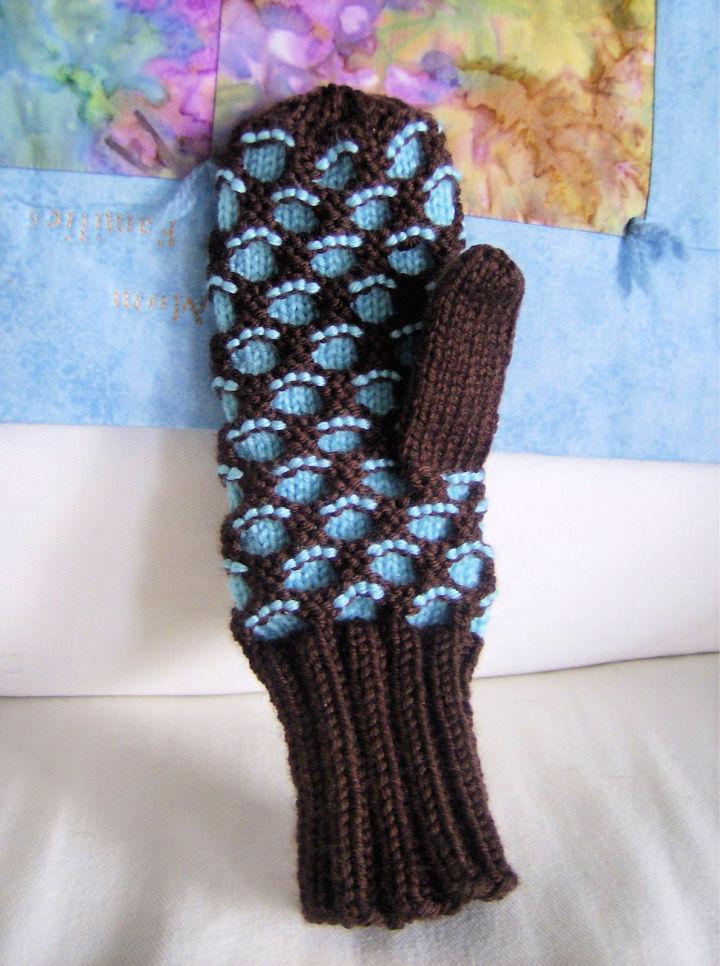
These Newfie crochet mittens pattern has a very unique look to it. But do not worry, as these mittens use the same basic stitches that almost every beginner and intermediate crocheter use. The stitch used to crochet these mittens is slipped slip stitches that are whipped up purl-wise. Go to the link for a step by step instruction. balkanstyle
- Yarn: Worsted weight yarn
- Needle: 4- 4mm double pointed needle
20. Crochet Mittens for Little Kids
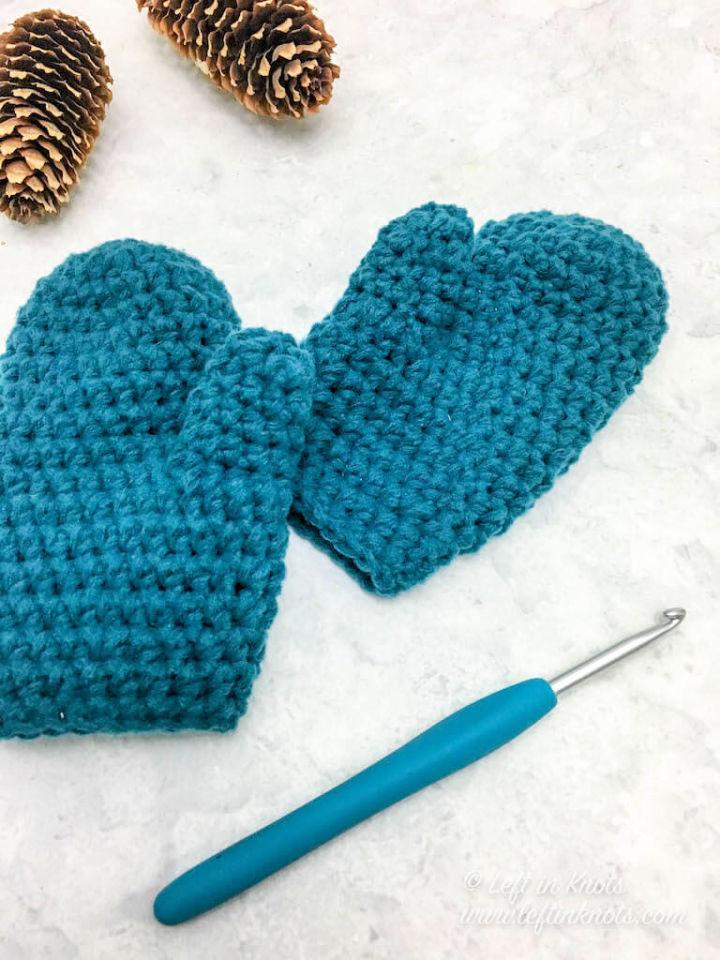
This crochet mitten pattern is for the ones who have a very busy schedule but still want to make something for their kids by themselves, to keep them warm. This pattern is easy to follow and can be spruced up into a mitten in almost no time. In addition to that, this pattern can help you make the coziest mittens for your newborns as well. leftinknots
- Yarn: Lion Brans Feels Like Butta
- Hook: 4mm
- Needle: Yarn Needle
Conclusion:
We have shared with you some of the easiest yet creative 15 free crochet mitten patterns. Choose the free crochet mitten pattern of your liking and spruce it up this winter. Add them to your Christmas gift list for the loved ones, make them for yourself, or give it to them as a warm and nice early gift for winters. These mitten crochet patterns are easy to follow and very easy to whip up. So, let’s get to work and make the chilly winters warm by crocheting with the cozy yarn balls that are still lying there in your cupboard.
Related Free Crochet Patterns:
- Chevron crochet pattern: If you can do single crochet and stitch increases and decreases, you can easily make the chevron crochet stitch pattern — even if you’re a crochet beginner!
- Crochet rugs: Find these unique and free crochet rug patterns to crochet and decorate your floors to match your other furnishings.
- Double crochet: Check these double crochet blanket patterns for beginners to learn the most common double crochet stitch.
- Crochet vest: Check these free crochet vest patterns that will help you to learn the chains and double crochet stitches to make your own crochet vest!
- Baby Yoda: Do you like baby Yoda? This baby Yoda crochet pattern roundup can steal many hearts, and you will get the 20 free baby Yoda crochet patterns to make a cute baby Yoda amigurumi and blanket.
- Crochet bag: Find the best free crochet bag patterns, including crochet handbags, crochet pouch, crochet clutch, crochet totes, gift bags, and many more.